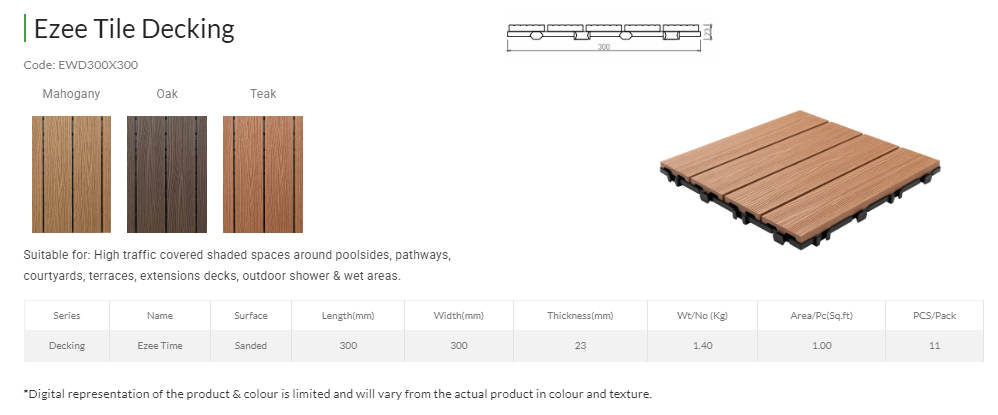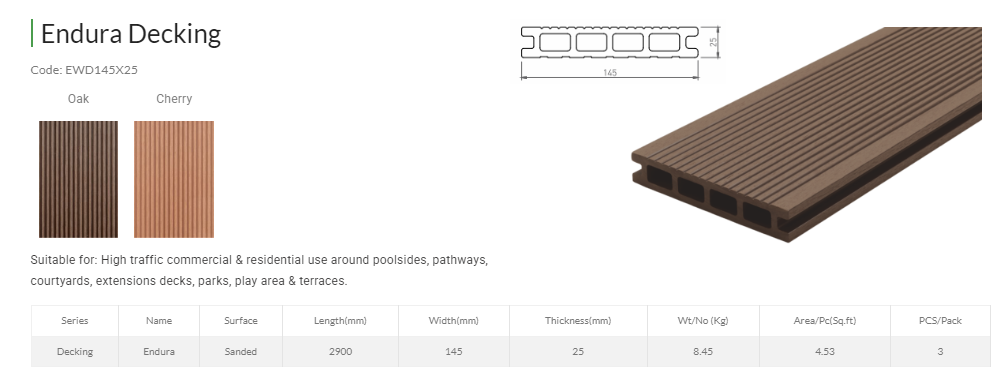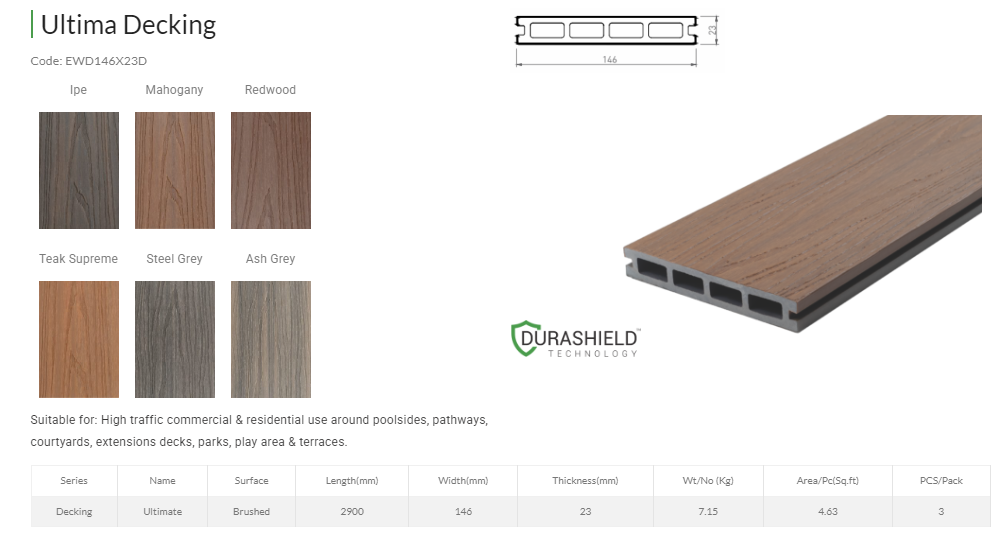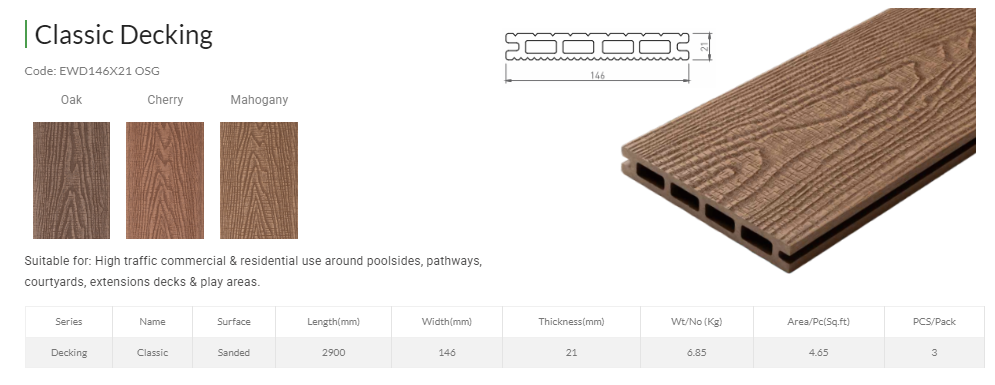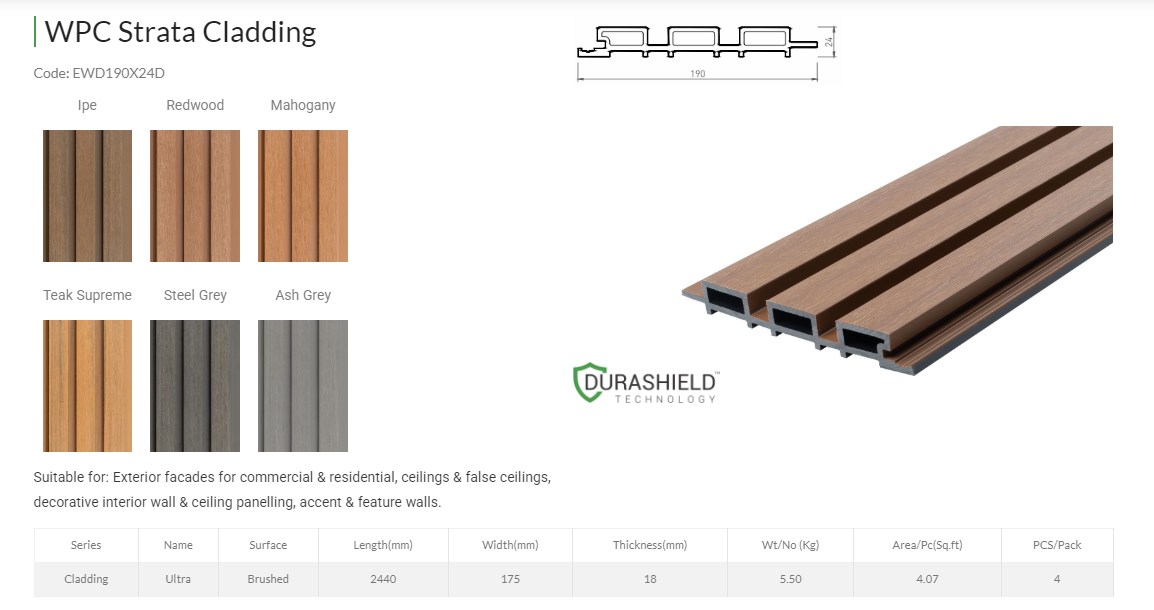
A well-planned deck can turn an unused outdoor surface into a practical space for relaxing, entertaining or simply spending more time outside. WPC decking has become a popular choice because it combines the visual warmth of wood with better resistance to moisture, insects and everyday outdoor wear.
For homeowners, contractors and DIY enthusiasts, how to install WPC decking comes down to three things: a stable base, correct spacing and the right fixing system. With proper planning and Everwood’s recommended components, the installation process is straightforward.
Pre-Installation Preparation
Good installation starts before the first board is laid. Take time to inspect the site, plan the board direction and check the manufacturer’s installation guidance.
Everwood provides dedicated product catalogues, installation manuals and technical information for its decking systems. Follow the product-specific instructions for the profile you have selected.
Tools & Safety Gear Required
Keep the following ready:
- Measuring tape
- Spirit level
- Circular saw or miter saw
- Power drill
- Safety goggles
- Gloves
Materials Needed
Depending on the project and decking system, you may need:
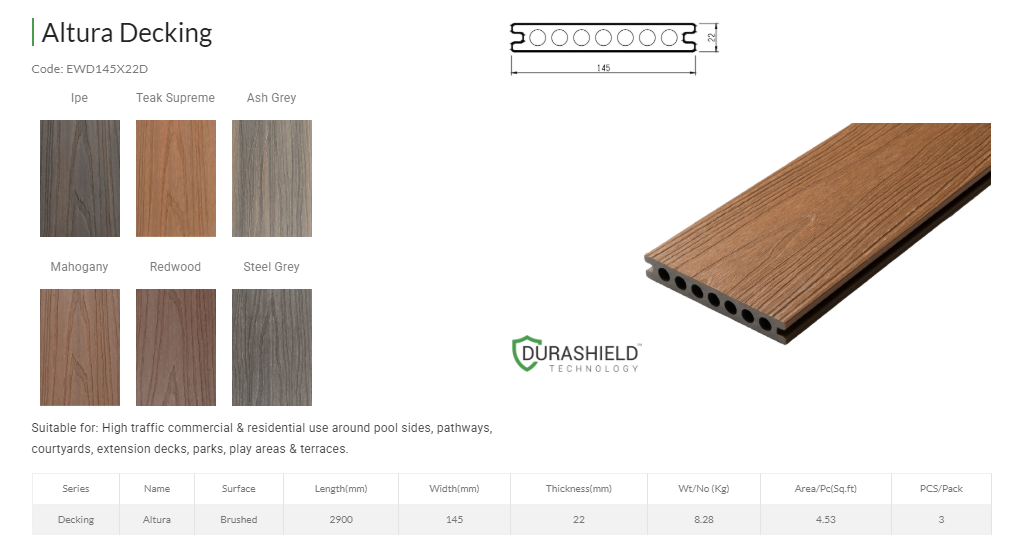
- Everwood WPC deck boards
- Subframe joists in aluminium, steel or composite
- Hidden clips
- Starter clips
- Stainless steel or other approved anti-corrosive screws
Everwood recommends using suitable, high-quality fixtures and fasteners as specified for the installation.
Prepare the Site
The base determines how well the finished deck performs. Start with a flat, solid and clean surface. A properly prepared concrete base is commonly suitable for a raised decking system.
Create a slope of around 1–2% where required so water can drain instead of collecting beneath the deck. Also allow adequate clearance below the structure for ventilation and drainage.
Before installation, inspect the boards and allow them to acclimatise to site conditions for at least 48 hours.
Step-by-Step Installation Guide
Once the base is ready, work methodically. Check alignment at every stage instead of waiting until the final board.
The following process explains the typical method for how to install WPC decking. Exact dimensions, spans and fixing details should always follow the installation manual for the specific Everwood decking profile being used.
- Step 1: Build the Subframe
The subframe supports the entire deck. If it is uneven or poorly spaced, the surface above can also lose alignment.
Lay the joists perpendicular to the direction in which the deck boards will run. Keep the framework level while maintaining the planned drainage slope.
A typical layout may use joist spacing of around 300 mm to 400 mm centre-to-centre, subject to the specific product guidelines. Leave enough clearance beneath the joists for airflow and drainage.
- Step 2: Install Starter Clips
The first board sets the line for the entire deck. A small alignment error here can become more noticeable as additional boards are installed.
Fix the starter clips along the edge of the subframe where the first board will sit. Check that every clip follows a straight line before moving ahead.
Take a moment to recheck the layout. It is easier to correct the starting point than to realign several installed boards later.
- Step 3: Lay the First WPC Deck Board
Place the first Everwood board into the starter clips and push it firmly into position.
Use a level and measuring tape to check that the board is straight. This becomes the baseline for every board that follows.
Do not rush this step. A clean first line helps create a uniform finish across the entire deck.
- Step 4: Secure Intermediate Boards with Hidden Fasteners
Concealed clips help create a cleaner surface without exposed nails or conventional visible fixings. Our decking system uses concealed stainless steel or polyamide clips, allowing the boards to accommodate temperature-related movement.
Insert the appropriate hidden or T-clips into the side grooves of the installed board. Lightly screw the clips into the joist, position the next board and push it firmly against the clip before tightening.
Maintain the required expansion gaps, including at board ends and around fixed structures. A gap of approximately 3–5 mm may be used in suitable applications, but always follow product-specific recommendations. Correct expansion gaps are important because inadequate allowance for movement can lead to misalignment or deformation.
- Step 5: Lay the Final Board and Trim
The final row often needs more careful measuring than the rest. Measure the remaining space at more than one point before cutting.
Cut the last deck board to size, if required. Secure it using the recommended end clips or suitable face-fixing method where the system calls for it.
Check the finished surface for consistent alignment, spacing and secure fixing before adding the finishing details.
- Step 6: Install Edge Trims and End Caps
The finishing pieces give the deck a neat, complete appearance. They also help conceal the subframe and exposed edges.
Fix compatible WPC fascia boards or angle trims around the perimeter. If your decking profile has open hollow ends, install the appropriate end caps for a cleaner finish.
This final step is especially useful for balcony decking WPC in India projects or terrace decking WPC applications, where the deck edges are often visible from multiple sides.
Essential Post-Installation Maintenance & Care Tips
One reason WPC decking in India projects continue to grow in popularity is the reduced maintenance compared with natural timber. Our WPC decking is weather-resistant and designed to avoid the regular sanding, oiling, sealing and termite treatment associated with wood.
A few simple WPC decking maintenance tips can help keep the surface looking clean:
- Sweep regularly to remove leaves, dust and other debris
- Clean the surface periodically with warm, soapy water and a soft-bristle brush
- Avoid harsh chemical solvents and abrasive cleaning tools
- Check the deck occasionally for blocked drainage areas or loose accessories
Whether you are installing WPC planks for exterior pathways, poolside areas or a residential deck, keeping water and debris from building up beneath the structure is just as important as cleaning the visible surface.
How to Install WPC Decking
Learning how to install WPC decking is not complicated when the site is prepared correctly, and each stage follows the recommended system. Build a stable subframe, maintain proper alignment and spacing, use suitable concealed fixtures, and finish the edges carefully.
The result is a durable, low-maintenance surface suited to modern outdoor decking India applications, from balconies and terraces to patios and commercial spaces. Everwood offers WPC decking for exterior applications along with technical information and installation manuals to support proper project planning.
Explore the Everwood WPC decking range, accessories and technical information to find the right system for your project.
WPC decking requires simple routine care, such as sweeping away debris and occasional cleaning with warm, soapy water. Avoid harsh chemicals and abrasive tools unless approved by the manufacturer.
The lifespan depends on product quality, installation, climate and maintenance. Choosing quality WPC planks for exterior use and installing them according to the manufacturer’s guidelines can support long-term performance.
Yes, WPC decking is suitable for balconies and terraces when installed over a properly designed subframe. Proper drainage, slope and ventilation are important for long-term performance.
Yes, DIY installation is possible if you have the right tools and follow the manufacturer’s installation guidelines. For large or complex projects, professional installation is recommended.
Yes, WPC deck boards can generally be cut to size using suitable woodworking tools, such as a circular saw or miter saw. Use appropriate safety gear and follow the manufacturer’s cutting recommendations.